
Foreword
Before we get show you how to build a media server we will assume anyone looking into this has some computer knowledge. While I will detail the process to build this project, I will not get to much into details of hardware you should use or how to actually use Ubuntu. Ubuntu is a lightweight OS that is perfect for building a home server especially with a limited spec machine so that is our choice for the project. other options exist, and you may find info on those in other build projects. Also Please be warned that doing any of the following incorrectly may result in bricking your device. If you are unsure of any of the directions please seek additional research into any section you may not fully understand.
If you have a media room of any sort there is a good chance you have considered a media server. Granted with streaming services offering great options for music, movies and TV there are plenty of us that have a personal collection of media. What do you do if you have more than one place to consume it? Well you can tote around the media, or you can build or buy a server system and access it all anywhere. There a tons of great options that you can guy off the shelf, hook up and enjoy. What about those of us on a budget or who love to tinker with electronics. For those of us who fit the later we build a media server.
Media Server Hardware
To get started we need some basic hardware. If you have an older computer laying around it will work just fine if you simply want to access media. If it is reasonably powerful, meaning I5 processor at 3.0gHz or better then you have other options. With more power available you can set up a machine that will automatically translate file types to the device receiving them so no need to worry what types you put on the drive. The process of doing this is not easy for older or slower units, so that means you have to know what file formats your devices support and only use those. The machine I have laying around for our project is an old Pentium 4 pc. I went ahead and “upgraded” it to a Pentium 4 HT and it has 1.5 Gigs of ram. While these specs are awful for computing they are fine for fetching and sending files. Most media servers are not processing power heavy. The crucial part is your drive space. To test mine out I am using 4 older 80 gig drives I had laying around. Once it is up and running I will be switching them to 500 gig SSD’s or maybe larger. For not this is plenty to verify all the settings and software works.
Additional Prerequisites
You will need a decently fast intranet, this is your home network. All of the internal infrastructure of your network will need to be up to the speed required to stream the media you choose to use. This may mean you need to upgrade your ethernet wires, or router(s). You will also need a place to keep your server that you have access to in the event you need to do maintenance.
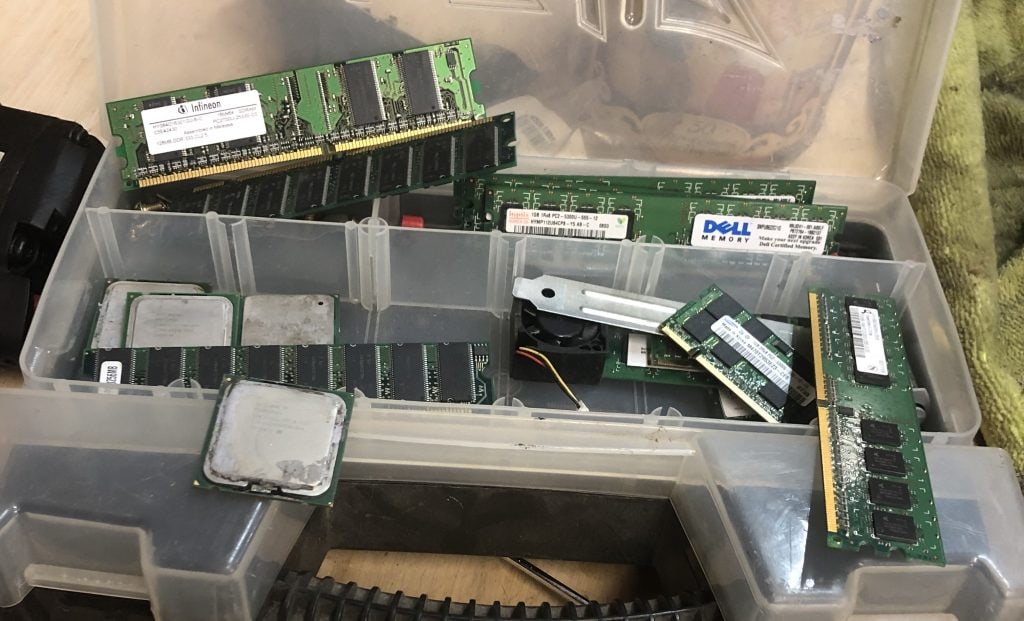
Parts and tools check list
- desktop computer that has nothing on it you need anymore
- all required minimum parts for funcion
- mobo, processor, power supply etc.
- all required minimum parts for funcion
- Home Network
- it will be best to hard wire the server to the network with an ethernet cable
- Hard Drives or SSDs
- Disc Drive
- Sata Cables
- Spare Keyboard, mouse and monitor
- no monitor needed if you can connect the video out to one of your receiver inputs
- Screwdrivers
- thermal paste if removing cpu or cooler
- flashlight may be handy
- flash drive that can be formatted (make sure to remove files you need)
- Coffee or drink of choice
- plenty of time
Putting the parts together
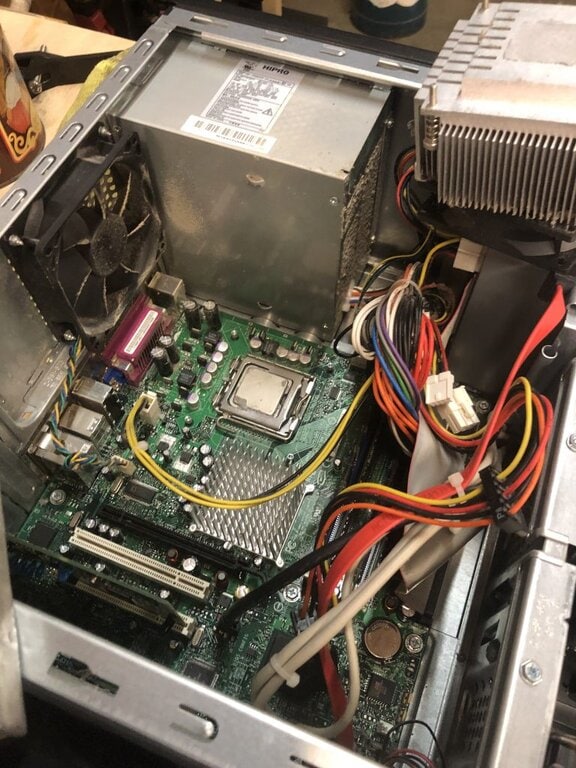
First thing you will want to do is build the media server itself. Remember the better the parts the better it will be. You can go overboard though and build something that will essentially be capable of more than you will use it for. We are going to assume you have windows installed on the main drive. In the even the machine still runs, power it up and make sure you have retrieved any documents you need before moving forward. Next you will install as many drives as the motherboard can support, our machine has 4 sata ports so that is what we are going with. Also make sure you have enough sata power rails. You can buy adapters to go from Molex to Sata power if you are using an old power supply. It is wise to keep a disc drive in the machine to pull CD or DVD content on to the hard discs. Once you have it assembled boot the server up again to make sure all changes worked and took effect. You can check the drive statuses in the Bios or in Windows explorer if Windows is still installed.
Make your pc into an actual media server
This is the most difficult part to build a media server. You could use windows and create shared folders, which may work. Windows however is a resource hungry OS that will run tons of unneeded processes in the background so it is not optimal. We chose to use Ubuntu for many reasons. one of which is how light it is.
To get Ubuntu go to the link below and choose the most recent LTS option.
https://ubuntu.com/#download
We are going to use the server version on this page. Note the file is almost a gig.
Next you will want to grab your USB drive, and make it a bootable drive that your Bios can recognize. If you are unsure about how to make a bootable partition on a flash drive click this link to an awesome write up by IONOS
https://www.ionos.com/digitalguide/server/know-how/make-a-bootable-usb-drive/
Once you have the boot partition made up you can move your Ubuntu Server Image to the drive. If you have not already go ahead and power down your server. Stick the USB drive into a USB socket and reboot. Go into the Bios and select the USB drive as the boot disc. This will allow you to install Ubuntu in place of Windows. Follow any prompts and run the instal and boot into Ubuntu Once it is fully installed.
Setting up the Server software in Part Two.
We will get into how to set up all the software to make the drives into a network file server you can access anywhere, in part two. The follow up will be released later this week.
Take this time to get familiar with Ubuntu if you are not already as well as the Console as we will spend a lot of time there.
If you are familiar with Ubuntu, feel free to check out some of our other how to articles at the link below.
DIY Articles